Showing posts with label diy. Show all posts

Wednesday, July 2, 2014

FREE Ebooks on Amazon! ($24 value!)


There are some great looking, and highly rated ebooks for FREE right now on Amazon!  6 different titles -- and two of them are box sets!


  • If you don’t have a Kindle, you can just download a free reading app from Amazon which will allow you to read this on your PC, iPad, iPhone, blackberry, android, Mac and more!
  • Prices change often.....if it's still FREE the price will be listed as $0.00


~ BOX SET #6: Body Butters For Beginners & Homemade Body Scrubs & Masks For Beginners

~ BOX SET #13: (5 books!) Superfoods That Kickstart Weight Loss + Essential Oils & Aromatherapy for Beginners + Body Butters for Beginners + Soap Making for Beginners

~ Paleo Diet Made Easy

~ Homemade Body Butter: 30 Body Butter Recipes for Nourished and Soft Skin Today

~ Oil Pulling Therapy For Beginners: Detoxify & Heal Your Mouth, Teeth, Gums & Body With Coconut Oil Through Natural Oil Pulling

~ Minimalism: How To Declutter, De-Stress And Simplify Your Life With Simple Living


Friday, July 20, 2012

DIY Homemade Dishwasher Detergent - Easy, Cheap, Works Great!


I was recently running out of dishwasher detergent and hadn't come across any great deals lately.  Not too long ago I made some more of our DIY laundry detergent (which I love!), so I thought I'd check out some recipes on Pinterest and see what I came up with for the dishwasher......and success!!


I've used it for about a month now to be sure it worked well before recommending it to you lovely readers, and I am loving it!!  It was so easy to make, and cheaper than store-bought detergent.  I got most of my inspiration from here and this is the recipe I used....

DIY Homemade Dishwashing Detergent
Simply mix these 4 ingredients and store in a container with a lid - done and done!  =)
To run a load, put 2 Tablespoons in the detergent compartment and add 3 drops of dish soap (like Dawn).


Also, add vinegar to your rinse agent/Jet-Dry dispenser.  *If you don't have a "rinse agent" compartment, you can just put about a 1/2 c. of vinegar into a small glass cup/bowl on your top shelf.

If you have hard water, you can double the citric acid.  The citric acid will sometimes cause it to clump, but I just left the container open and checked it every few days, breaking it up with a butter knife. After a week or so, it was fine and didn't clump anymore - YMMV.  I just give it a little shake now when I use it.


*I found the ingredients in Wal-Mart without a problem, but I included the links above to be able to buy them on Amazon in case you're not near a store, or just prefer it to show up on your doorstep.  =)


Thursday, July 19, 2012

DIY Blush for only 1¢!


I came across this DIY tip on Pinterest and thought it was so clever!  Head over to My American Confessions to see how she makes her own blush for only a penny!  It looks so easy to whip up and customizable!


Tuesday, May 22, 2012

Easy DIY Homemade Laundry Detergent Recipe!


A big pile of laundry was waiting for me today, but when I went to start the first load I discovered that one of the kids had used the last of the laundry soap.  "Make laundry detergent" was on my to-do list for a few weeks, but I had been putting it off -- so now was as good a time as any!

I usually use All Free and Clear, but the first time I made this I was thoroughly impressed!  It's so easy to make and extremely cheap -- about 1¢ a load (from cost breakdowns I've seen on other websites) -- compared to Tide at about 19-20¢/load from what I see on the Walmart website!

My toddler "helped me" test out the first load by wetting the bed -- "pee sheets" are some of the worst laundry loads I think.  It took out the smell beautifully and they smelled fresh and clean with just one regular cycle - no soaking or anything!  I was instantly won over.  =)


So this morning I got my supplies and helper together and whipped up another batch! 

The basic recipe:
  • 1 c. Borax
  • 1 c. Washing Soda (not the same as baking soda!)
  • 1 bar soap, shredded (many recipes use Fels Naptha, but I've heard that it really doesn't matter, so I picked one that smelled great and was on sale)

I also added these optional ingredients:
  • 1 c. Baking Soda
  • 1 1/2 c. Purex Crystals (they smell amazing and soften your laundry without oil - so it doesn't ruin the wicking ability of towels and exercise apparel)

I shredded the bar of soap into a bowl with a microplane, then Emma helped me add the rest of the ingredients.
(Since then, I've also shredded it in a food processor after drying the bar on the counter for a few days.  Or if you use Ivory, you can try this cool trick in the microwave instead of shredding!)


I stirred it all together and then put it into the now empty Purex Crystals container.


I was going to use a pretty glass jar, but I thought the plastic bottle might be safer for the kids to use.


  • I use 1 Tablespoon per load -- but if you have a really grubby load, you could go crazy and use 2 Tbs. for only 2¢!  ;)  (it may seem strange at first to use so little, but it has no fillers - only what it needs to do the job)
  • It's important to note that this does not get sudsy -- commercial detergents have things added to make them get bubbly and "look" like they're working, but it's not the bubbles that do the cleaning 
  • From my research, I've found that this works great and safely in HE (high efficiency) machines because it doesn't suds up
  • I found the ingredients in the laundry aisle at WalMart (but if you want them shipped to you, I've included links to the products above to be able to buy them online also)


Pin it, share it, and let me know how you like it!   =)

Wednesday, February 15, 2012

Easy Valentine's Day gift -- "I love you because ____" frame tutorial.....Pinterest inspired and only cost $1.18!


I came across this really cute idea on Pinterest for a picture frame that says "I love you because _______" and you fill in the blank by writing on the glass.  It was featured on eighteen25 and I pinned it forever ago thinking I'd make it someday to hang it in our bedroom and leave sweet notes back and forth with the hubzy.....and then Valentine's Day came around and I thought that would be the perfect time to actually do it!
"Words of Affirmation" are really meaningful to my husband, so I knew he'd love it too! Knowing his love language is so important to help communicate love in a way he'll actually hear it! ("The 5 Love Languages" by Gary Chapman is a fantastic book! If you haven't read it yet, I so wholeheartedly recommend it!)


Here were my supplies:


We had an old picture no longer being used that was sitting in a box in the basement....it was a yard sale find that we liked the picture of, but were not really feeling the frame.  I took the picture and glass out and spray painted the frame with oil-rubbed bronze to transform it.

{Sorry about the bad picture -- our basement is like a dungeon when it comes to taking pictures!}

I bought a piece of scrapbook paper at Hobby Lobby that I thought would fit our decor, and also a piece of vellum to soften the printed paper so that we'd be sure to be able to see what was written without it competing with the pattern.

{I love the "old love letter" look of this paper.  I was going to pick something with color, but couldn't decide what since we currently have greens and purple in our bedroom, but I want to switch it over to a restful palette of blues, cream, and tan....but have yet to convince the hubzy.}

{I was concerned that the "words" on the paper would maybe make it a little too busy, so I added the vellum to soften it....see the difference it makes?  I love vellum!}

I then typed up "i love you because ______" in a Word document.  I did a Swagbucks search to find a clip art image of a heart and put that in place of the word "love".  Then played with the fonts and spacing until I was happy with the look. 

{I was a little nervous that the ink might smear on the vellum, but I ran it through my laser printer and it came out beautifully!}

Personally, I may have chosen a prettier, more "romantical" font for the words, but my husband does not share my love for fun and fabulous fonts (or alliteration, lol), so I thought I'd keep it simple -- since it was a gift for him after all.  ;)  And I did like the way the simple font looked on the "inspiration frame".


I then trimmed the pieces of paper to fit the frame and replaced the glass, then put in the vellum and and the printed scrapbook paper.  Tada!!  I'll probably put a dry erase or chalk marker like I use (and love!) for our menu board, on top of the frame to keep it handy for jotting a reason down.


{I couldn't get rid if the reflection, but I love the way the ORB goes with the blue in our kitchen!}

{I'd love to make some of these in smaller frames too for the kids.....wouldn't that be sweet to write something for them to see when they come home from school each day?}


So, for only $1.18 we'll have a Valentine's day gift that lasts year-round.......an easy way to take a second out of the daily hustle and bustle and tell each other why we're still crazy about each other.   =)


Linking up:


HookingupwithHoH
Redoux

Thursday, January 12, 2012

Jalapeno, Bacon, and Pepper Jack Stuffed Chicken Breast Recipe = Amazing!! {Trim Healthy Mama = S meal}


*Edit:  I forgot to include one of the best parts about this meal!  It was so cheap to make!  The entire meal (including the cucumbers and cherry tomatoes on the side), only cost $3.50 for both of us!!  Compare that to going out to eat at a restaurant.....it could easily cost over $20 + a tip!
What a delicious way to save money!  ;)  And it's perfect for Trim Healthy Mama -- a super yummy "S" meal! (I've lost 45 pounds so far on THM, mostly in about 6 months!)

My darling husband made us the. yummiest. dinner. last night!  I went to Zumba and Rite-Aid with my sister, so got home kind of late and I thought I'd just heat up some leftovers or something....but no way....my "live-in chef" had grander plans. ;)  He whipped up this stuffed chicken breast that was really creamy and flavorful.....it was so yummy, I couldn't believe the calories and carbs were so low!

We've been eating low-carb and low-fat -- focusing on lots of fresh fruits and veggies and lean meats.  So far it's been going really well, and we're feeling great!  We've found some yummy recipes, and come up with some healthier tweaks to the "regulars".  This recipe meets our nutrition requirements (low-fat, low-carb, high protein) and is EASY and delicious!!  It will definitely be on regular rotation!  =)

Jalapeno, Bacon, and Pepper Jack Stuffed Chicken Breast (THM - S)

(Recipe makes 2 servings.  Takes about 15 minutes.)

2 chicken breasts*
2 slices bacon, cooked and diced**
1/2 cup pepper jack cheese, shredded
1 jalapeno, diced
1/4 cup onion, diced
3 Tbs. olive oil
Garlic powder (to taste)
Seasoning salt (to taste)
Onion powder (to taste)

1. Butterfly chicken breast and fill with bacon, cheese (saving a small amount to add to top of chicken when finished) and jalapeno.

2. In a skillet, heat olive oil on medium heat, then add chicken. Season with garlic powder, seasoning salt, and onion powder. Flip half way through (about 5 minutes, depending on size of chicken breast). Cook until chicken is done and cheese is melty and amazing.  ;)

3. Add onions to skillet after flipping. Top chicken with remaining cheese and sauteed onions. Enjoy!


Notes:
* Our chicken breasts were about 6oz. each.  We could've shared, but it was so yummy and I missed a meal earlier due to a busy day.....so we didn't.  ;)  Next time we'll probably use a smaller breast.  The nutrition facts would obviously change if you used smaller pieces of chicky.
** If you can stand turkey bacon (we are not fans, lol), that would reduce calories and fat even more.


I've been using SparkPeople.com (a great free tool!) to track my fitness and what I eat.  I plugged the chicken recipe into "dinner" last night and here's the nutrition data per serving.....(columns are l-r: calories, carbs, fat, protein)


Just in case you can't see the picture:
  • Calories = 346
  • Carbs = 3
  • Fat = 14 (use turkey bacon/low fat cheese for less)
  • Protein = 49


If you try it, let us know how you like it!  It's really so easy (especially when your husband makes it)  ;), inexpensive, and easily customized with some variations......I'm thinking maybe spinach, bacon and mozzarella.......ham and cheddar.......lots of possibilities!  =)


Linking up:

Tip Junkie handmade projects

Monday, December 26, 2011

Cake Balls - an easy yummy treat! Great for New Years Eve or holiday parties!


Quiet a while ago I stumbled across Bakerella's website.  I was so impressed by her cake pops and I browsed for awhile....drooling over her amazing creations.  I wanted to try to make my own cake balls for a long time, but was very intimidated.....I was afraid I couldn't make them as delightful as they looked online. 

Mine certainly didn't turn out as picture perfect as Bakerella's, but they were not difficult and they were yummy!!  I shouldn't have waited so long!  I used her directions to make Red Velvet cake balls and read some of the comments there for some tips.

I gathered my supplies......
  • 1 Red Velvet cake mix
  • 1 tub cream cheese frosting
  • chocolate almond bark

I started by making the cake mix according to the directions.


Then we cut off the edges to make sure there would be no hard bits mixed in.  I think next time I might use our stoneware 9x13 because the edges don't seem to get "crusty" like in a glass pan.  Emma could hardly resist eating up the "scraps"!


I used the KitchenAid to make it easy to crumble up the cake....it was weird to make a cake with the intention to break it up, but I knew it would be worth it.


Then we mixed in the tub of frosting and started rolling out the cake balls.  Some people suggested only using about 2/3 of the tub, but I used the whole thing and it worked fine.  Maybe try it and see what consistency you like.


Here's my great helper.....she did a much better job than I thought she would since I was worried about myself getting them all rolled nicely, lol.  It didn't take as long as I thought either.


After we got them all rolled out, we popped the tray in the freezer to help the cake balls firm up and make sure they didn't crumble when we dipped them in chocolate.

After about an hour of chilling in the freezer, I dipped them in melted chocolate almond bark and let them dry on wax paper (next time I might try a cooling rack).  Then I melted some white chocolate and drizzled that on top and sprinkled some red sugar while it was still wet.

We were in a hurry to pack up and drive to see family for Christmas, so I didn't get the chocolate dipping process or the "sliced open" shot so you could see how pretty the red inside the chocolate was.  But they were prettier than the picture looks, lol, and really yummy....they were gobbled up fast!


~*~*~*~*~*~*~*~*~*~*~*~*~*~*~*~

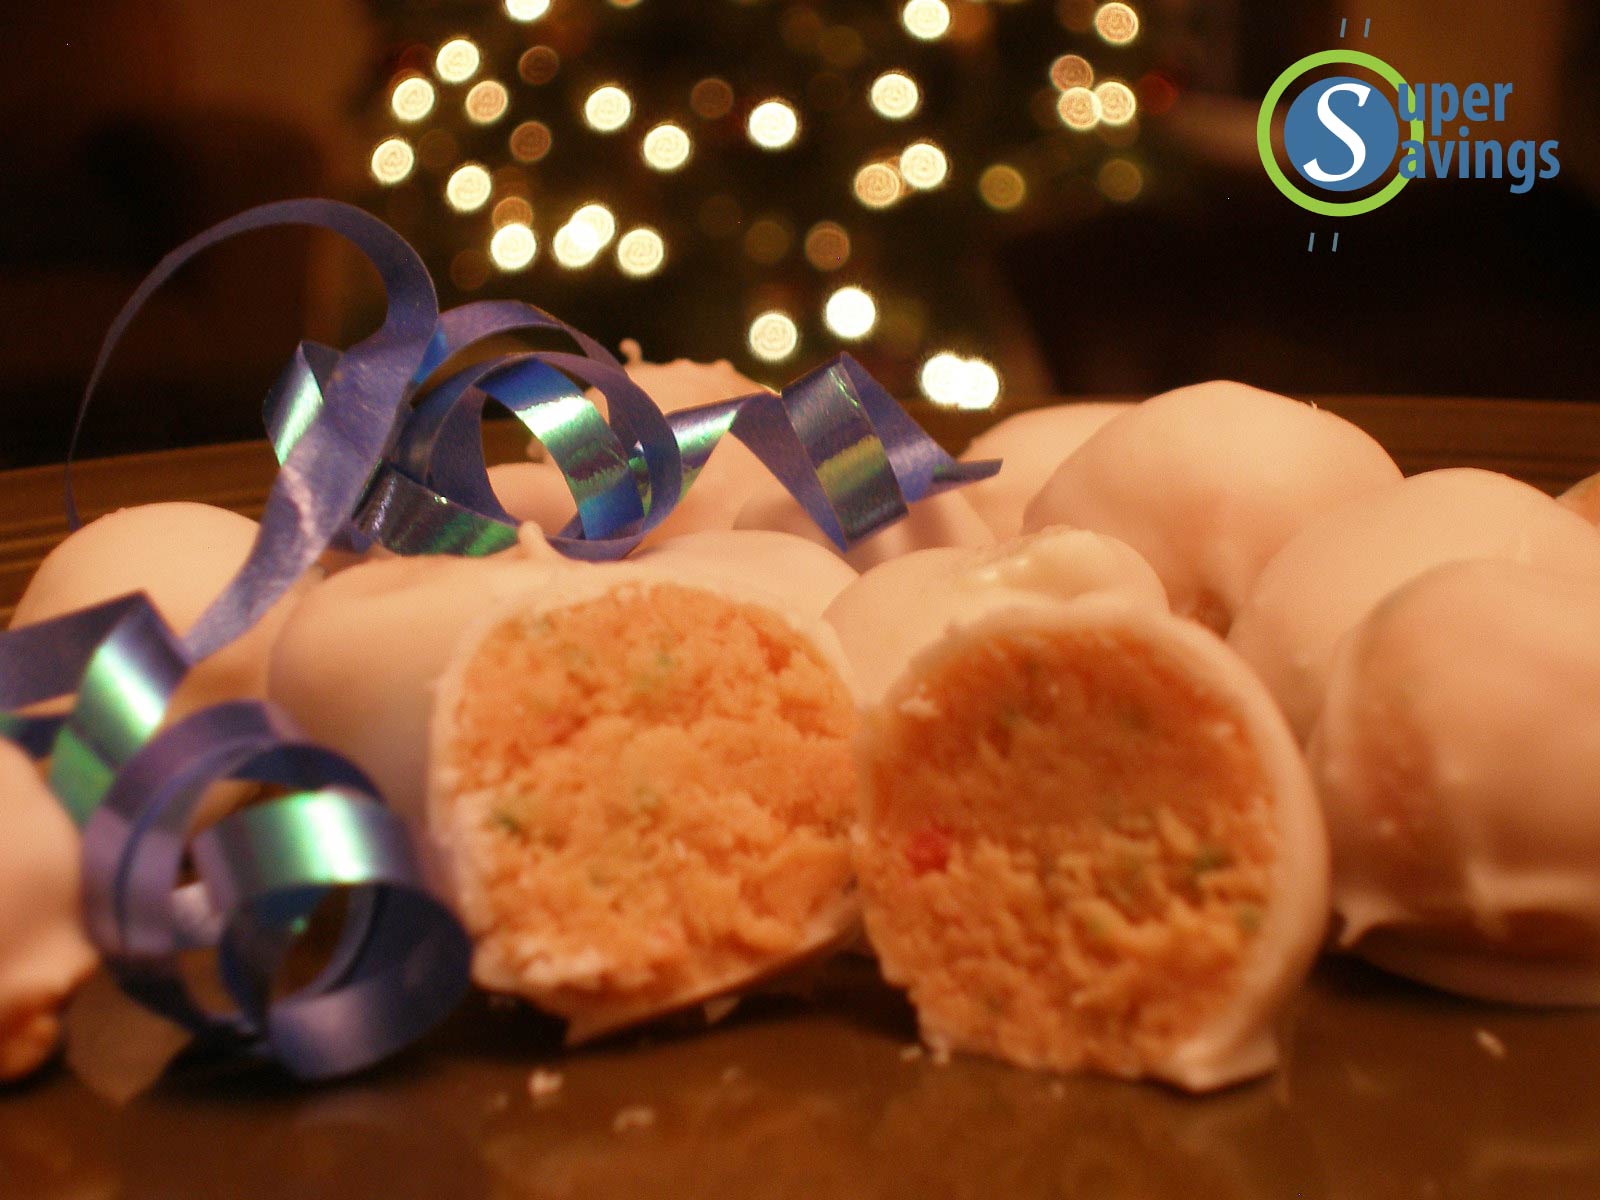
The Red Velvet ones were actually my second batch, the first ones were ones that my daughter Gracie requested for her birthday.  She chose a funfetti cake mix with an orange frosting (vanilla flavor - Halloween clearance) and white almond bark.  The combination possibilities are endless!

I baked the cake and once cooled, broke it up into a bag and added the frosting.


 Then we mushed and mushed and mushed.......


......until it all was completely mixed together.  It was simple to do, but took some time.....I think I'll use the mixer again next time...unless I have some frustration to work out.  ;)
..

Then we rolled the mix into balls and put them in the freezer.....for a while.  Since it was my first attempt and I was nervous about coating with the chocolate, I left them in there for a long time.....like weeks.....maybe even months, lol.  They were still good though!  Which made me think this could be a great treat to have on hand in the freezer.....just waiting for company to impress!


When I finally found the courage to try it, I melted the almond bark and dipped them in it with a fork, tapped the extra off and let them dry on wax paper........here they are......


Delicious and not scary to make.  ;)  I was happy with how easy they are to whip up.  They do take some time, but it's easy time......(like baking the cake and freezing to get firm)....
They're not difficult to make, and they are yummy and impressive.  I love that both the adults and kids like them too.  The only downside is that they're maybe a little too easy to eat though!  ;)